
I am a developer from Toronto, Canada and I enjoy writing about JavaScript, Angular and the .NET framework.
In this post, we are going to install a vim plugin to allow us to add extra functionality to our editor. This is similar to how you can install plugins to editors such as Visual Studio Code. The only difference is that vim is much older and you can make it do things that you never knew were possible.
You can install plugins manually, but I want to show you how to use a plugin manager. This will help you install plugins quickly, and in our case, we will install the NERDTree plugin. It allows you to browse the directory and open files.
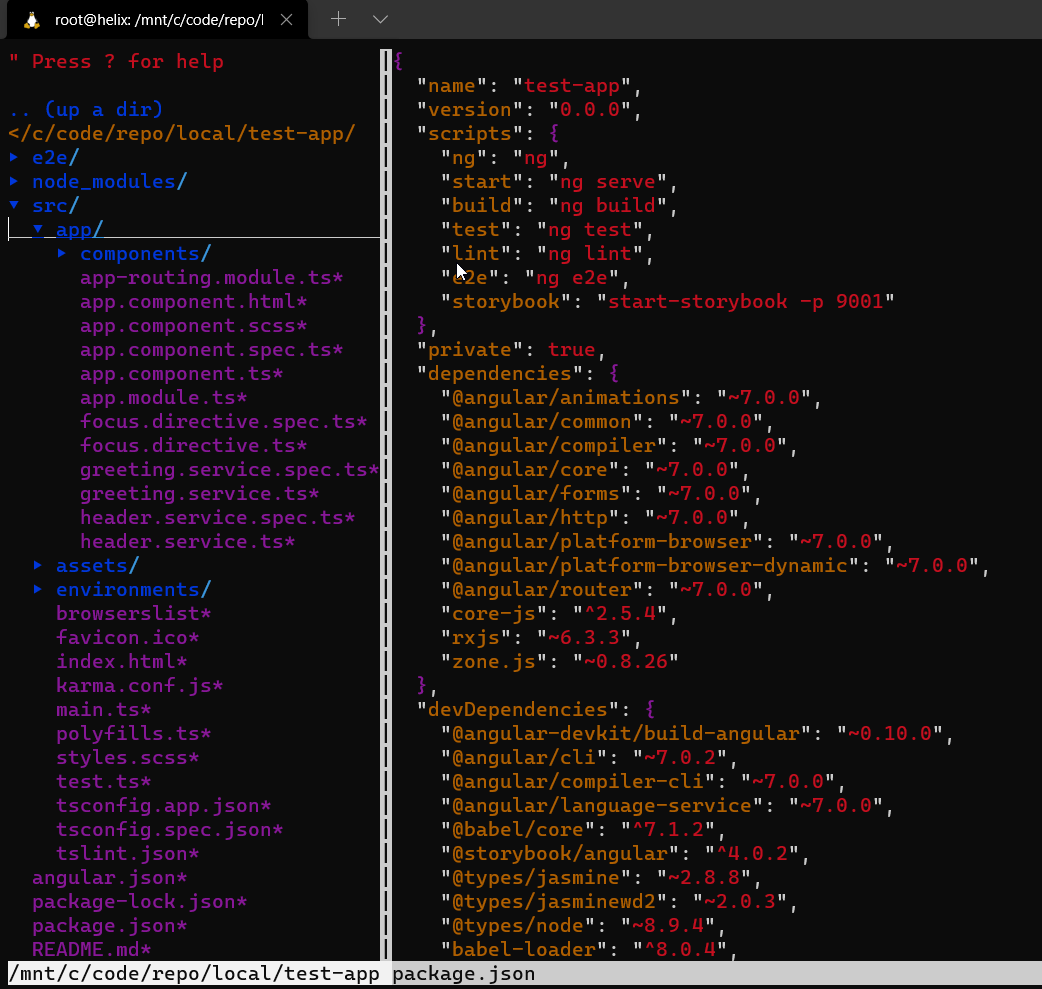
Here is a screenshot:
The plugin manager we will use is the vim-plug manager. To start with, run the following on your terminal:
curl -fLo ~/.vim/autoload/plug.vim --create-dirs \
    https://raw.githubusercontent.com/junegunn/vim-plug/master/plug.vim
This command will set up the plugin and will create the .vim directory in your home directory. You can see the whole path in the command (including plug.vim).
Now that we have installed the manager, we have to configure vim using the .vimrc file. You place this file in the home directory and add the following to it:
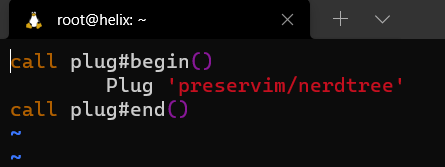
In the screenshot, I have added one plugin - the NERDTree plugin which is at https://github.com/preservim/nerdtree. If you look at the URL, you will notice that we copied our github page URL (excluding https://github.com/ part). Any time you want to add a new plugin, you place it between the begin and the end lines.
Save the file (remember, its ~/.vimrc). In my experience, it works when you save and quit vim.
The last step is to actually execute a command to install the NERDTree plugin. Up until now, we have only told vim what plugins we have, but we haven't actually downloaded any plugins. To download the plugin, open vim (or open any file), and in COMMAND mode, type in PlugInstall and press the enter key.
This will show you screen like the one below (ignore the right side - I had .vimrc file open):
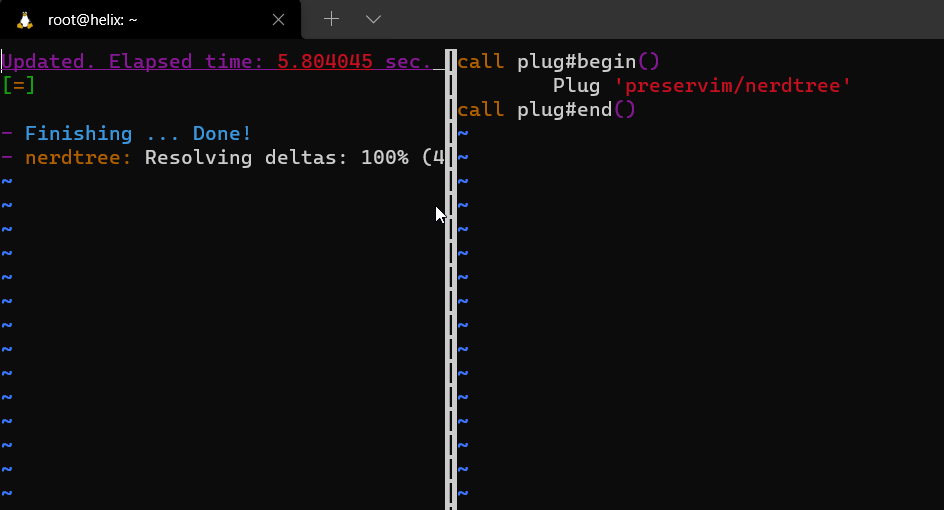
If you see the status done, it means the plugin was downloaded and installed. You can exit vim using :q. You may have to do that two times if you had a file open.
That's all it takes to install a plugin. So, how we actually use this plugin? It's quite simple. Open a file and in COMMAND mode, type in NERDTree and press the enter key.
Navigating NerdTree is simple. You can use the navigation (or arrow) keys to go up and down. When you press the enter key, it will open that file in the editor on the right.
The NERDTree repository has a list of commands you can use (search, create file, and more).
I have used plugins to reformat my files, and also to give me intellisense for my angular development!
If you are curious as to where the plugins are downloaded - check the path ~/.vim/plugged. You will find the github repository contents downloaded there. This is especially important to know if you install a plugin that has to do some post install task. I have come across a plugin that failed to execute the post install step and I had to manually run some command within the plugged folder.
Have fun!